Content Chunks have been replaced with the WordPress blocks and Fast Member block conditions – see this latest tutorial for more details
Content Chunks give you a powerful way to create conditional content on your site. You can display pre created ‘chunks’ of content based on the products your site members have and have not purchased.
This allows you to create a powerful dynamic user experience that is customised based on your member purchases.
To set this up is pretty straight forward.
- Create any number of Content Chunks, adding your content as you would the same as any other WordPress post.
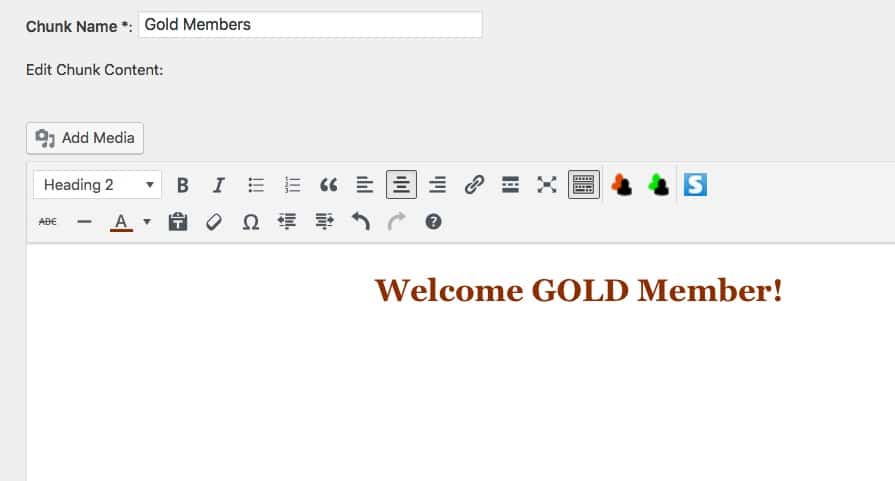
2. Next choose a WordPress page or post to insert the Content Chunk into.
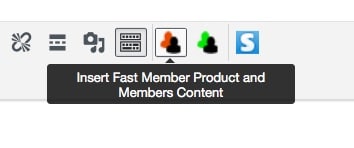
When editing the post/page, use the orange shortcode button from the WordPress classic editor and choose ‘Content Chunks’ from the drop down.
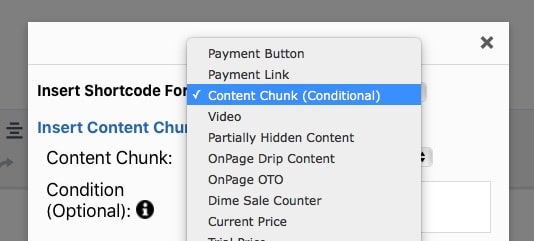
3. Choose the Content Chunk you wish to set a condition for
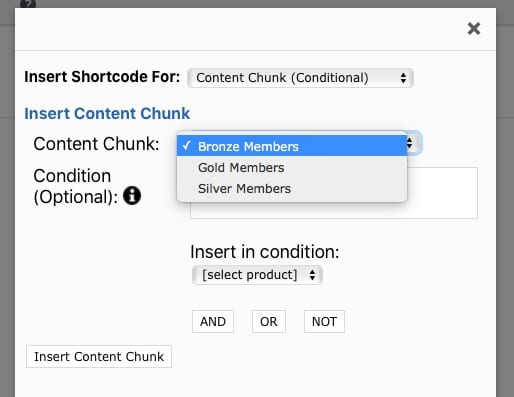
4. Next select the product from the ‘Insert in condition’ dropdown.
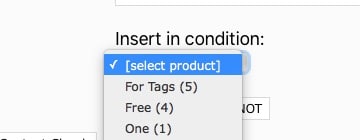
Once selected you will see a number with curly brackets around it like this {1} inserted into the conditions box. This number will be the Fast Member product ID.
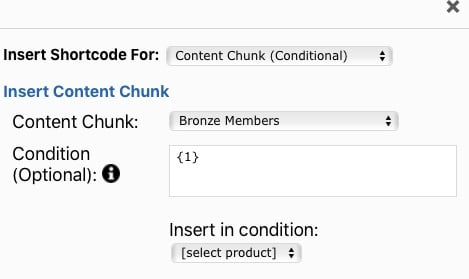
At this point you can choose to add the Content Chunk shortcode for a single product or add more products with the use of the conditions.
Content Chunk Conditions
The conditions can get a little tricky so here is a good explanation of how they work.
AND – This will display the Content Chunk only when the member has all the products which have been chosen.
An example for AND would be as follows.
[[fastmemchunk id="3" cond=" {1} AND {2} AND {3} "]]This would display the Content Chunk with ID 3 to members who have purchased products 1 AND 2 AND 3.
If they have only purchased product 1 they will not see it. Likewise they will not see it when only purchasing product 2 or both product 1 and 2 or product 1 and 3 etc. It needs to be ALL 3 products to make it visible.
OR – This will display the Content Chunk to members who have purchased any of the products.
An example for OR would be as follows.
[[fastmemchunk id="3" cond=" {1} OR {2} OR {3} "]]No matter which product they purchase they will always see the Content Chunk displayed.
Negative Conditions
NOT – by using NOT we can create negative conditions to hide the content when they have purchased certain products.
An example for NOT would be as follows.
[[fastmemchunk id="3" cond=" NOT {1} "]]This will display the Content Chunk until the member has purchased that specific product, then it will be hidden.
This can be used to display reminders to purchase an upgrade etc which will then disappear once they have upgraded.
Combined Conditions
This is where the real power of the Content Chunks comes into play.
By combing conditions we can add and remove content as members purchase different products.
An example for a combined condition would be as follows.
[[fastmemchunk id="3" cond=" {1} AND (NOT {2}) "]]Notice the use of normal brackets ( ) around the NOT {2} section. These are used to separate the conditions.
In the above example the Content Chunk ID 3 will display for members who have purchased product 1 but not to those who purchase product 2.
In other words it will display for product 1 and when they purchase product 2 it will disappear.
You can then add another Content Chunk for product 2 which will display a new message. You could also add the same conditions to the product 2 code to hide it when they purchase product 3 and so on.
In this way you create highly customised conditional site content with no programming knowledge needed.